*
 Before I launched into mass production of the new horizontal struts I thought I'd better build a complete, sample gore.
I cut off the extension ribs at the angle at which they joined the lower ribs. Then added a 4"x8" 9mm plywood, reinforcing patch across the inside of the slanting joint.
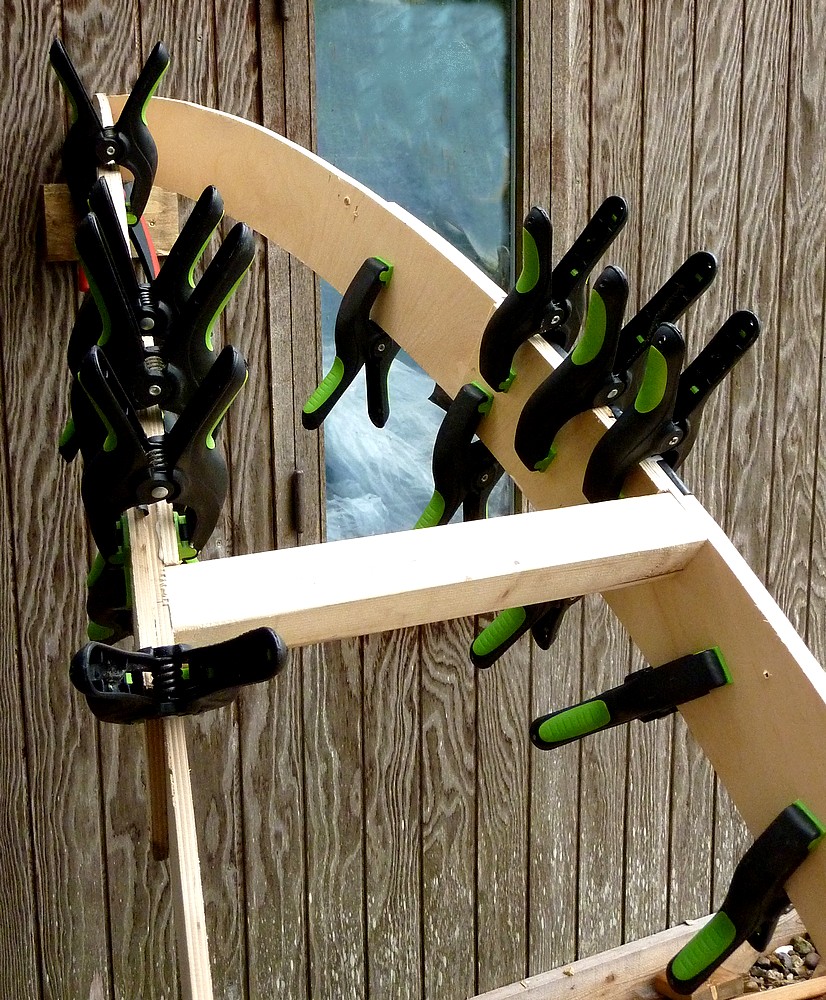
You can never have enough gluing clamps!
The outsides of the ribs are joined side by side so the patch could only go on the inside. When the gores/segments are joined and glued to complete the dome this will further reinforce these joints. It should be emphasized that these 9mm [3/8"] ribs are merely guides for the horizontal and vertical struts. It is these battens which will provide the real strength in the dome's skeleton.
I couldn't see any other way I could assemble a lot of loose struts into an accurate dome without some guidance. It was a fortunate decision because, even with the help of the ribs, it has proved a difficult geometric task to achieve a uniform dome.
 Black polythene was sandwiched between the spare ribs clamped to the outside of the gore to avoid them becoming stuck fast by the white 'Outdoor' wood glue. These temporary outer ribs acted as guides to ensure the arcs were correctly followed by both upper and lower ribs. The actual joints were hidden inside the plywood sandwich while the glue dried.
In the image on the left I have ringed the patch-reinforced joints just above the 4th horizontal strut.

Having carefully measured the dimensions and angles of the new struts I spent a couple of hours cutting new, shorter lengths from the originals. Only the 57cm second struts had to be cut from fresh stock of 45x45cm. Chopping them off straight at 58cm was easier than trying to cut compound miters on each length. The shorter lengths were much easier to handle using the end stops on the DeWalt, miter saw stand.
As these stops are so abysmally inadequate in design and manufacture I have packed the stop heads with softwood batten to give G-cramps something to grip. I could then add various lengths of 2x6 as the true end stops on top of the metalwork. Otherwise the DeWalt end stops only allow very long lengths to be measured off and are far too floppy to be accurate within half an inch. Marking the outside faces of the new struts with pencil was vital. Since none of the compound miters was equal in angle. Rotating the struts between cuts would have resulted in completely wrong angles on each end.
Then next task is to drill and countersink the ribs at 50cm centers for the new struts.
Click on any image for an enlargement.
*
No comments:
Post a Comment